Photoshop Design - September 24, 2010
How to Design a Grunge Style Website
Creating a grunge style website in Photoshop takes a variety of different brushes, fonts and techniques in order to implement it correctly. In this tutorial we’ll go through the entire process of creating a grunge website from start to finish.
Once you’ve completed the tutorial below you should end up with a design similar to the following:
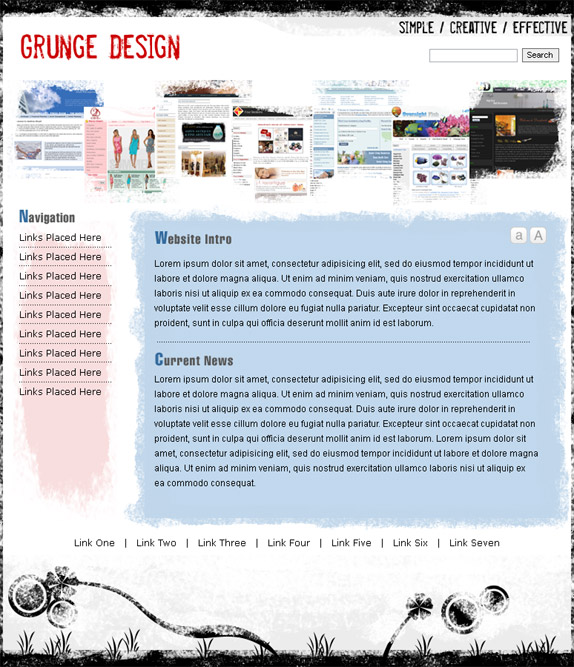
Start out by creating a new document with a white background at 774px by 900px (These dimensions are for the design above, feel free to use a different size). Next we’ll need to create the black border around the edges of the layout. Do this by creating a new layer and use the square marquee tool to create a black rectangle 774px by 23px and place it at the top of your design, then duplicate the layer and place another instance at the bottom of the layout. Now you’ll have to create 2 new layers and add a black rectangle 4px by 900px on the left and right of your design. You should now have a black frame surrounding the entire layout which we’ll be applying a grunge texture to.
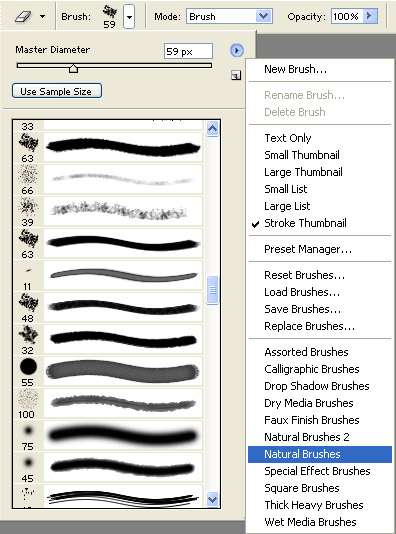
Select the eraser tool and go to the advanced options bar located at the top of Photoshop, click the brush button and then select the advanced brushes button and select Natural Brushes and append it to the brush panel (Illustrated below).
Use a natural brush similar to the one I have selected in the picture above and set the Master Diameter to about 64px. You’ll now go through each of the 4 black borders we created and click in random places throughout each piece concentrating more on some and less on others. This will bring out the grunge effect we’re looking for.
**You can do the same process that’s listed above with the paint brush tool using white as your foreground color if you prefer not to delete any of the surfaces.
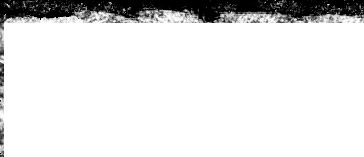
Once you’ve finished applying the eraser tool throughout each of the borders you should have effects similar to the following:
We’ll now create the footer design with the abstract shapes coming out of the bottom of the layout. Use the brush tool using the same brush used for the borders and paint a gray (#F3F3F3) texture on a new layer in the footer (We’ll duplicate this on top of our shapes later). Now using the pen tool, circular marquee tool and custom shape tool, draw out some random shapes in the footer similar to the image below. Once you have your design completed take the gray layer (#F3F3F3) and duplicate this on top of the artwork we just created.
The final design for the footer should be similar to the following:

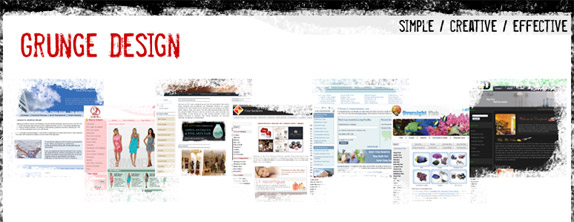
The header will use similar techniques as the footer, we’ll first add a new layer and use the pen tool to outline a tabbed shape using a fill color of gray (#ECECEC). Next create another layer and place your header graphics (I used screen shots of websites layered randomly). Once your header graphics are in place create a layer on top of both the header tab and graphics and use the same grunge brush using the paint brush tool and paint white on the outer edges of both sets of graphics. The fonts used in the header are both using Misproject. If you don’t have any grunge fonts right now I’d recommend checking out bittbox.com for both textures and fonts.
The end result of the header should be the following:
We’ll now design the structure for our body content. Start out by creating a new layer and use the square marquee tool to draw out a box that’s about 560px by 401px and fill it with blue (#C1D8ED). Create another layer on top of the blue box and use the grunge brush tool to with the same blue as the body content and paint around the edges of the box.
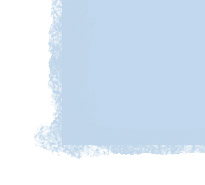
The grunge around the edges of the box should be similar to the following:
Create a new layer and use a grunge brush to paint out the left navigation background using a light red color (#F8DEDE). Your canvas is now set for adding content to both the left navigation, body content and footer. Play around with different font sizes and family’s, I mostly used Arial at 12px.
When coding out a design similar to what we’ve just created you’ll need to replicate different sections of the background 3 times. Cut out a piece, flip it vertically and repeat until you have 3 sections connected. When this repeats as a background image it should appear as if the design continues down the page without any breaks in the design.
I hope this tutorial helps you out on any future grunge layouts you may plan on developing. If you have any questions please submit them below.
Post By: Josh Coffman | 
 Add to favorites




Mashhood
Saturday, October 31, 2015
It was an amazing article, thank you for great article, it really helped me in my websiteShowbiz Corner